Cutting down a tree irrespective of its size requires skill and proper techniques employed by tree removal companies. Many times, people come across trees that they think they can take down by themselves but do not know how to do it. We are going to discuss how you can cut down a small tree by hand.
Step 1
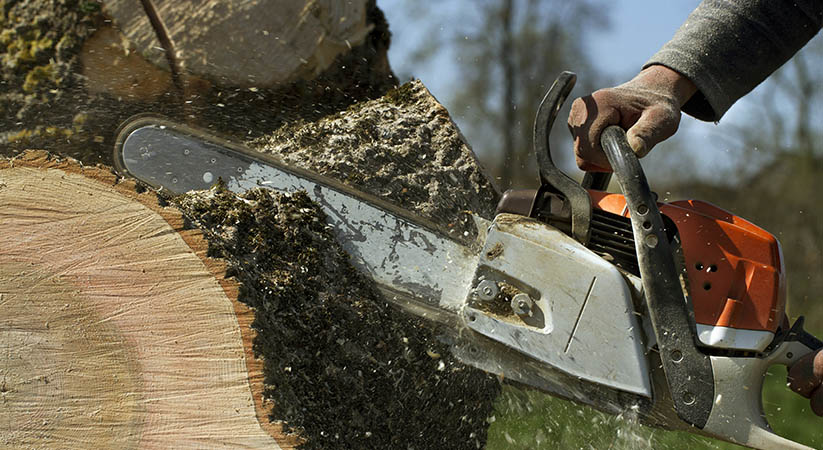
To cut down a small tree by hand, you are going to need a pole saw and a hand saw. Before you begin cutting the tree, you should stand back from it and observe closely. You should take note of the potentially dangerous branches, which can cause serious injury as the tree falls down.
If you observe long, heavy, and sharp branches, you should first prune the branches or simply cut them off. This will make the tree much lighter as well. In addition to that, you should check the direction in which the tree is leaning or the side that has the most branches.
In addition to that, you should check the tree for any beehives, living creatures, or diseases. If that is the case, you will first need to remove them and then begin the cutting process. A diseased tree can create all sorts of problems and you should be wearing gloves at all times. This protects your hands against any unexpected injuries, scratches, and infections.
Every tree has a side that is heavier than the other. When it comes to cutting, you should consider this side as the “front”.
Step 2
Another part of the safety procedure is that you should notify the neighbor and clear the surroundings. Even if it is a small tree, it might land somewhere where it is not supposed to be, creating havoc. Experts have ignored basic protocols while cutting small trees, which has led to serious damages and consequences in the past.
Then, use your hand saw and cut on one side of the tree about a third of the way through. Next, move to the other side and continue cutting the tree. Remember, not to cut the tree down from one side only. Moving on, you can use the pole saw to reach the limbs over your head. The procedure remains the same.
Step 3
Make a horizontal cut low on the front side of the tree, making sure not to go beyond 40 percent of the tree’s thickness. Make sure that you apply a steady and firm pressure to work the saw back and forth. Then, make another cut above the existing one, coming down at an angle so that the two cuts meet like a piece of pie removed from the rest. Again, do not cut more than 40 percent of the tree’s thickness.
Step 4
Once you have made both cuts, move to the tree’s back and locate a spot that is 2-3 inches above the tip of the pie cut. Make a “back cut”, which is parallel to both the pie cut and the ground as well. At this point, you will have to make sure that you are above the first cut before cutting, otherwise, you will not be able to control the fall.
Step 5
Continue cutting through the trunk of the tree until it begins to fall. At most, you will be more than halfway when the tree begins to fall rather than going all the way through. As the joint between the tree’s middle and back cut and pie cut weakens, the tree will start leaning to one side. Keep in mind that sometimes, the tree tends to crack and falls down.
Therefore, you have to be careful of the point where the tree begins to fall down so that you have a sufficient amount of time to step away. Remember, you have to consider the branches as well while moving to a safe location.
Final Word
The above-mentioned steps will help you bring down a small tree with ease. Just make sure that you practice proper safety protocols and use the right technique to make the tree fall exactly where you want. If you experience any problem or if the tree is bigger in size, let tree cutting services Chevy Chase remove it for you.


